How-to
How to Sharpen Kitchen Knives at Home the Right Way
Most dull knives aren't worn out. They're bent, and the fix takes about fifteen minutes at the sink.
Draws on the cutting-force studies listed below.
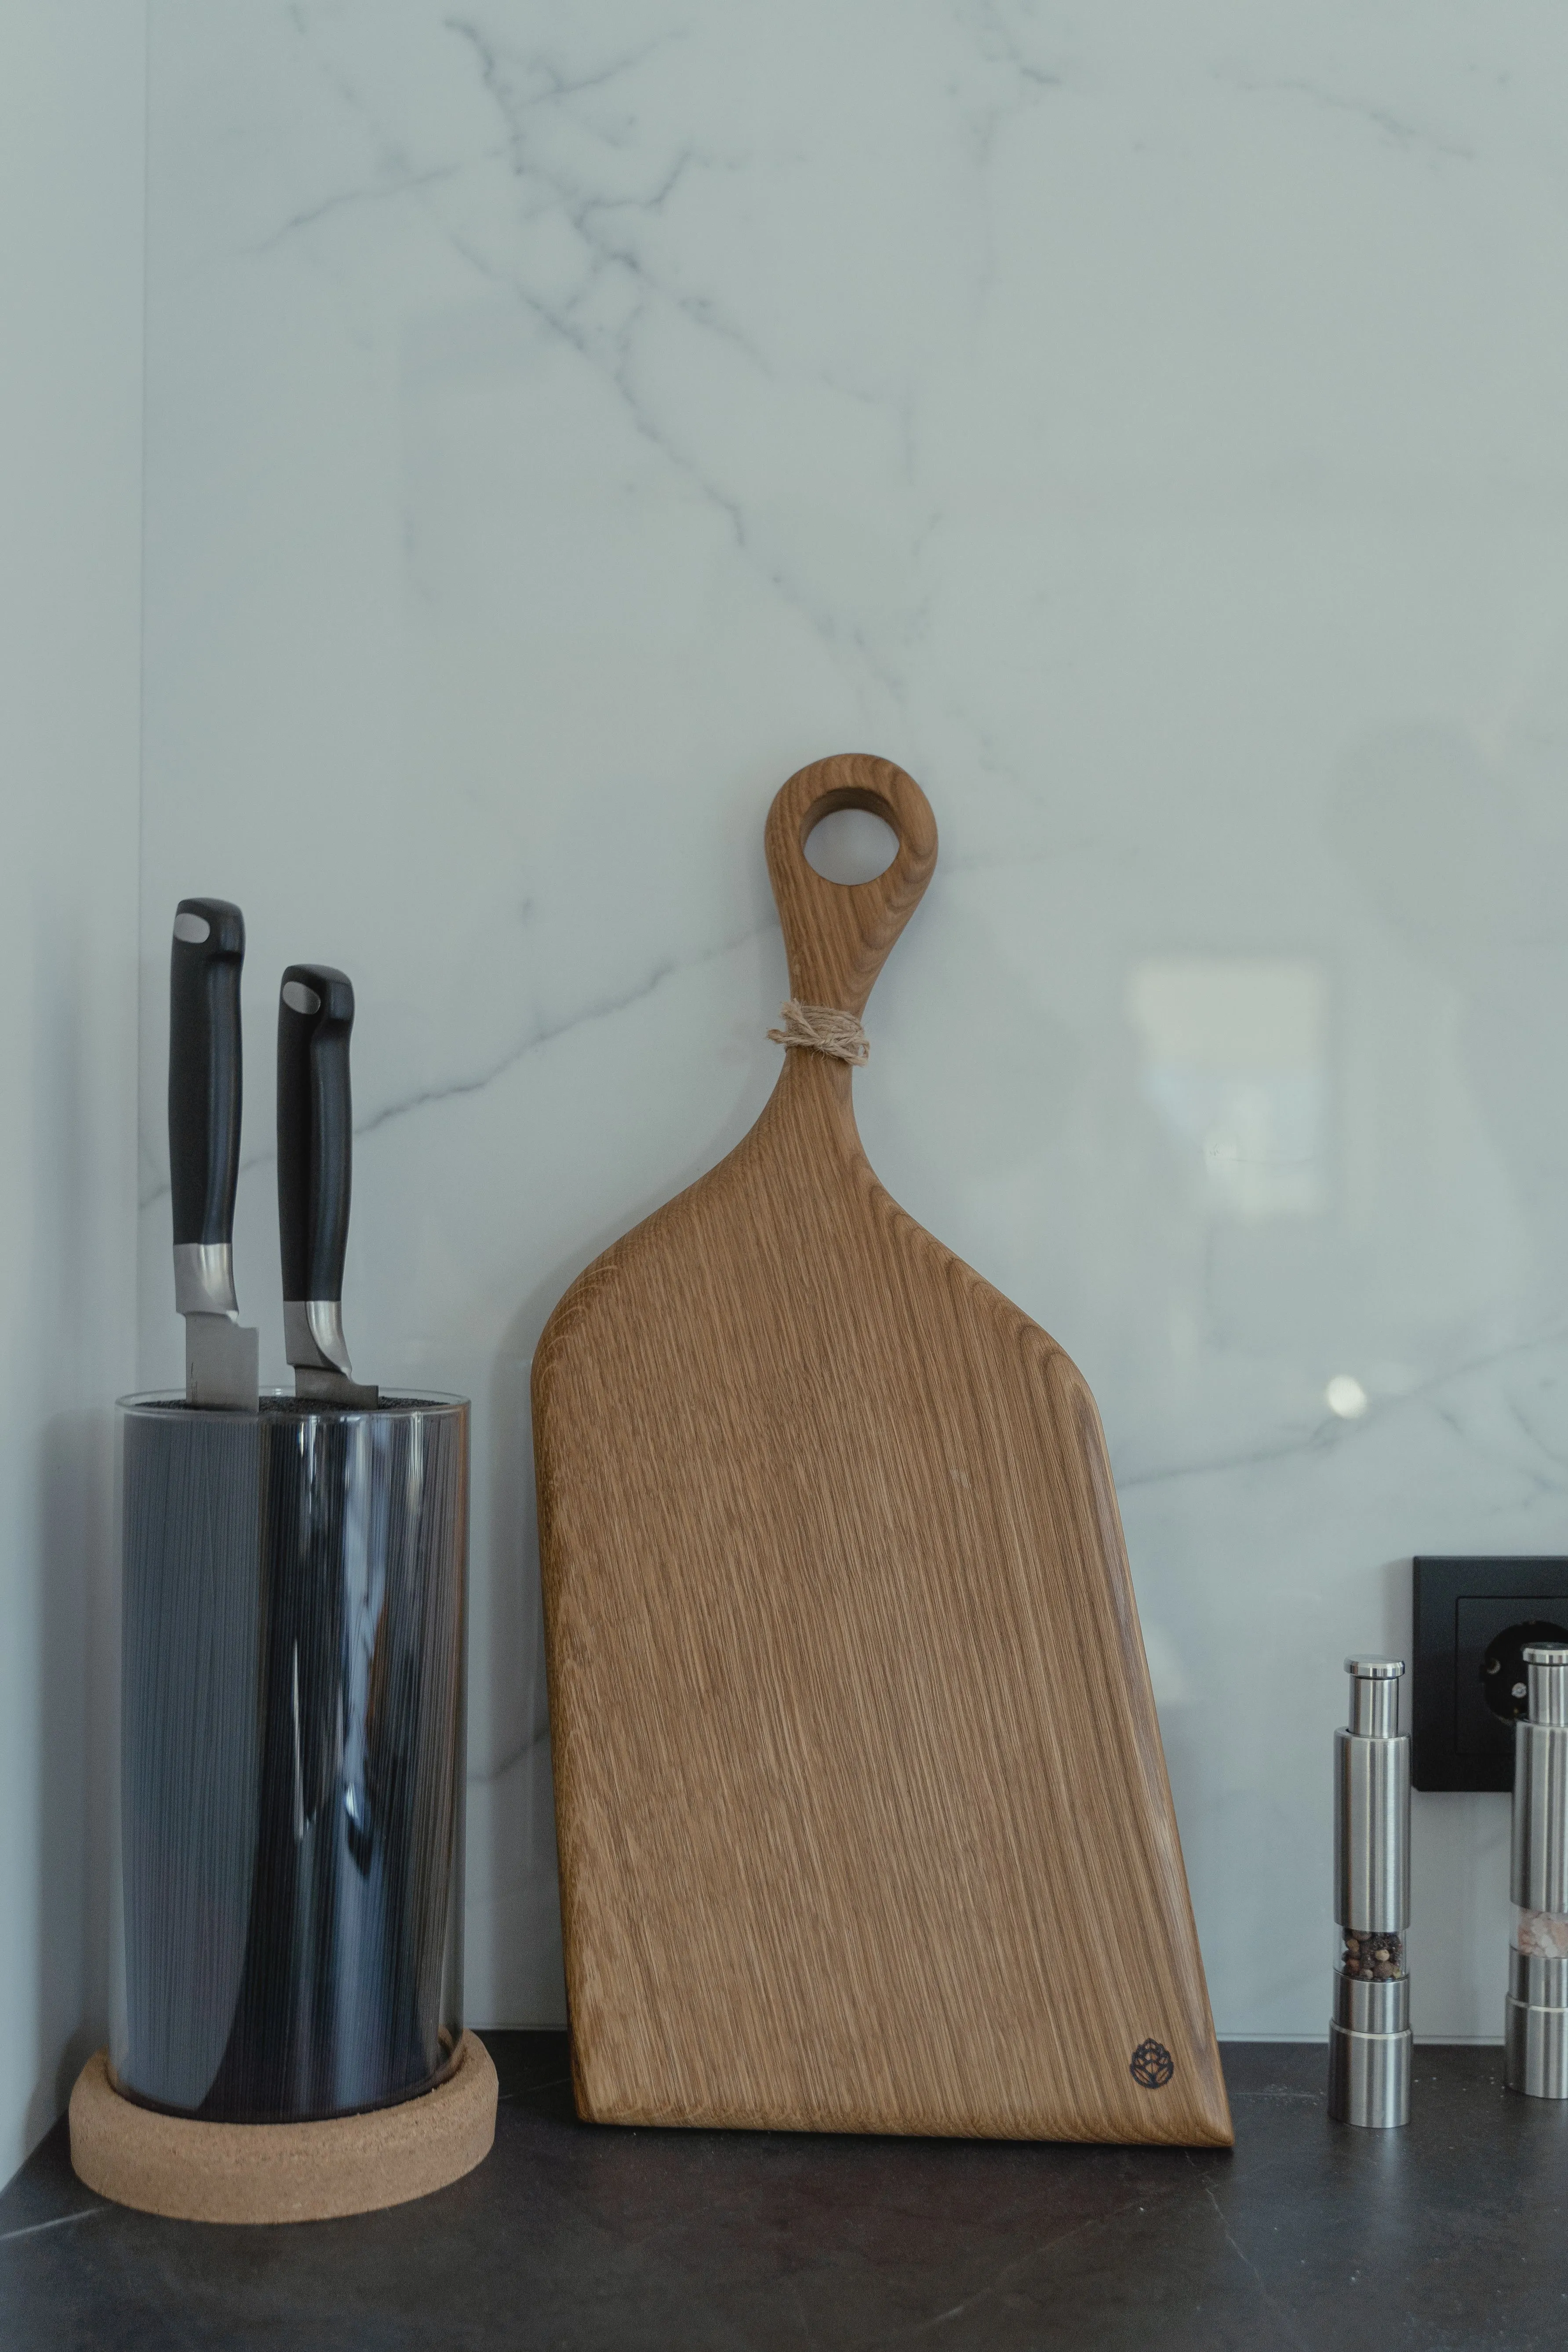
What you need
- A dual-grit whetstone (roughly 1000 grit on one side, 3000 to 6000 on the other)
- A bowl or sink for water
- A damp folded towel or non-slip mat to hold the stone
- A leather strop or a strip of smooth cardboard
- A clean cloth for drying
- A sheet of paper or a tomato for testing
- Gather your gear and set aside twenty minutes
You need a dual-grit whetstone, water, a non-slip base, a strop, and something to test the edge on. Clear a stable counter near the sink and give yourself an unhurried twenty minutes.
- Choose your grit and plan the progression
Start on a 1000-grit stone to reshape a dull edge, then move to 3000 grit or finer to refine it. Skip the coarse side for a knife that only needs a touch-up.
- Soak the whetstone until the bubbles stop
Submerge a water stone for about ten minutes, until it stops releasing air bubbles. A dry stone drags, clogs, and grinds unevenly.
- How to sharpen kitchen knives at home: find the angle and commit
Hold the blade at roughly 15 to 20 degrees against the stone and keep that angle on every pass. Consistency of the sharpening angle, more than the exact number, decides how keen the edge gets.
- Sharpen the first side until a burr forms
Draw the blade across the coarse stone at your set angle, edge leading, working heel to tip. Keep going on one side until you feel a tiny burr along the opposite edge.
- Sharpen the second side to match
Flip the knife and repeat at the same angle until the burr moves to the other side. Matching both sides is what creates a centered, even edge.
- Refine on the fine stone and strop the edge
Repeat the same passes on the fine side of the whetstone, then finish on a strop with a few edge-trailing pulls to polish the apex and remove any last burr.
- Test the edge on paper or a tomato
A sharp knife slices clean through printer paper held in the air and glides into a tomato under its own weight. Dragging or skidding means back to the fine stone.
- Clean and store the knife and stone
Rinse and dry the blade, flatten and dry the stone before it goes away, and store the knife where the edge won't knock against anything.
A knife that skids off a tomato skin isn’t broken. It usually isn’t even worn out. The thin apex of the steel has just rolled sideways or gone a little round, and a few minutes on a stone brings it back.
That’s the part most people miss. They figure a dull blade needs replacing, or a trip to a pro, when the whole fix happens on a kitchen towel next to the sink.
One thing separates a knife you’d trust with an onion from one that fights you the whole way, and it isn’t which stone you buy. Hold that thought until you reach the angle.
Gather your gear and set aside twenty minutes
Rushing a stone is how fingers get cut, so pick a moment when nobody needs the counter.
Lay out a whetstone with a coarser side and a finer side, a bowl of water, a folded damp towel to keep the stone from sliding, a strop, and a clean cloth. Keep a sheet of paper or a spare tomato nearby to test with at the end.
Work at a comfortable height. If the counter is too high your wrist angle drifts, and a wandering wrist is the enemy of a clean edge.
Choose your grit and plan the progression
Grit numbers tell you how fine the abrasive is. Lower numbers cut fast and leave a rougher edge; higher numbers polish.
For a genuinely dull kitchen knife, start around 1000 grit. That side does the real metal removal and sets the shape of the edge. Once the blade bites, switch to the finer side, somewhere between 3000 and 6000 grit, to smooth out the scratches the coarse stone left behind.
This grit progression matters because a coarse edge feels sharp for a day and then gives up fast. The finer stone is what buys you edge retention. If your knife still slices paper and just feels tired, you can skip the coarse side and refresh on the fine one.
Soak the whetstone until the bubbles stop
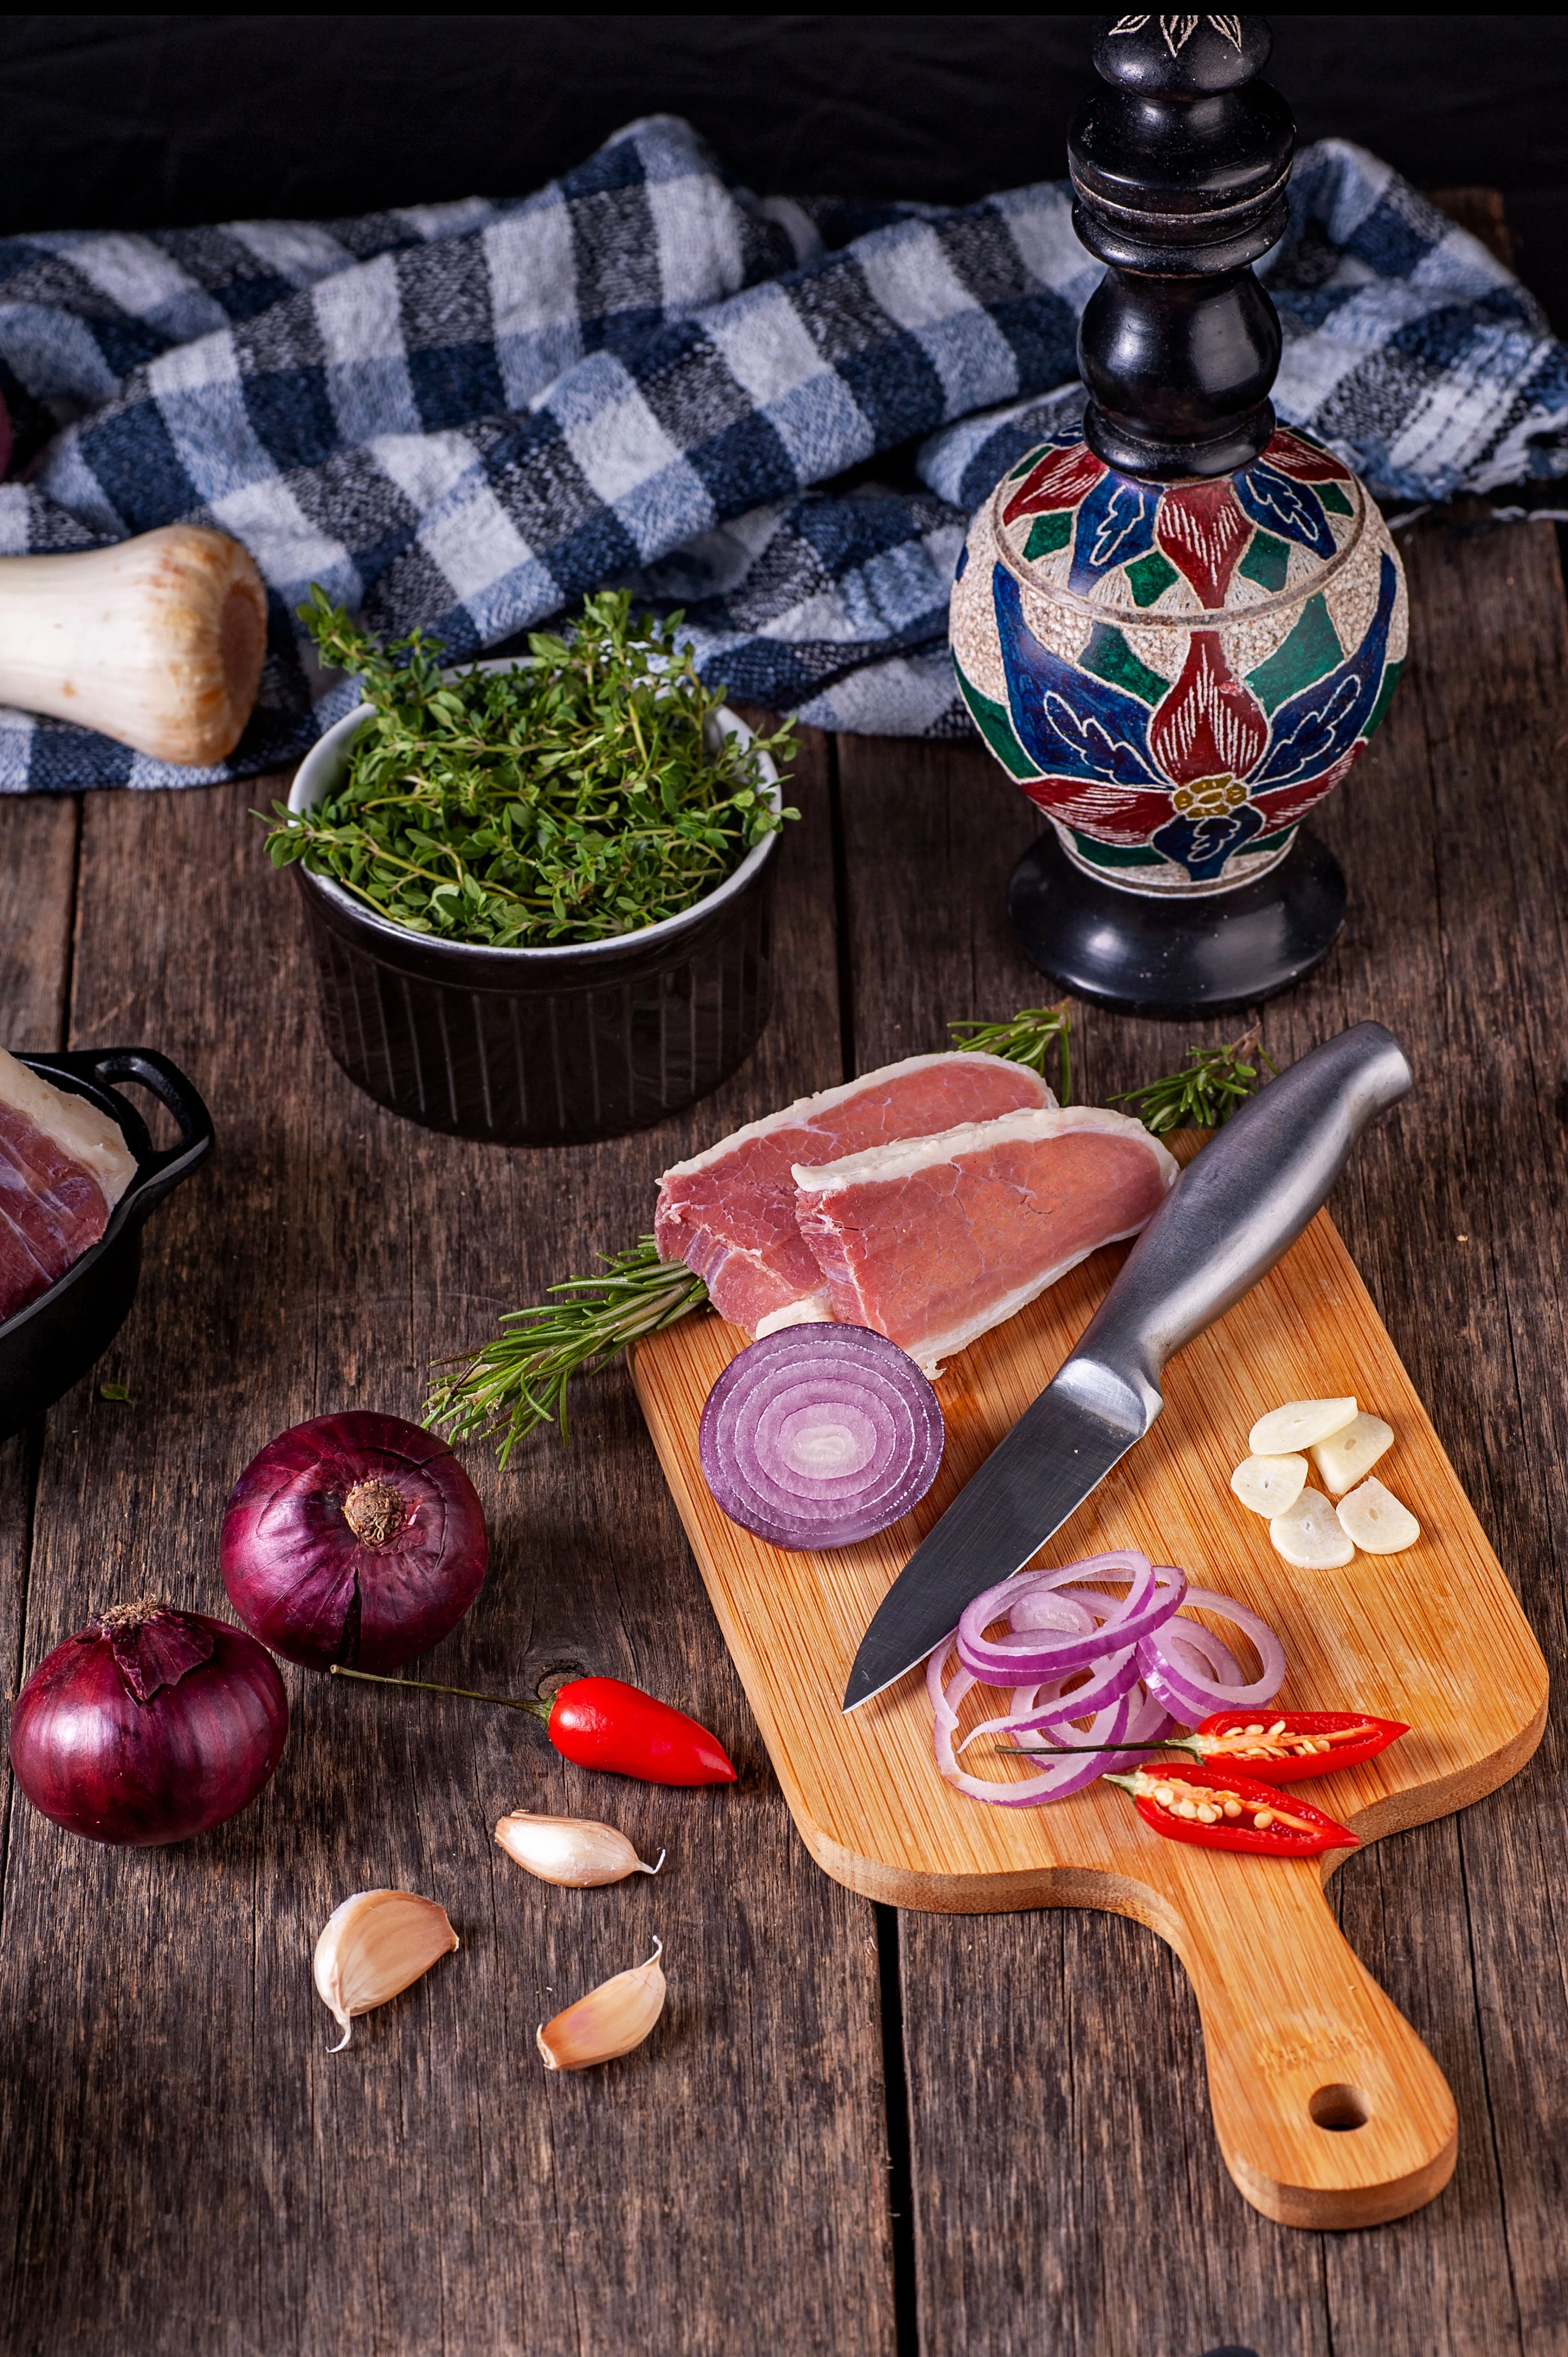
Most water stones need to drink before they work. Set the stone in a bowl of water and watch. Streams of tiny bubbles will rise off it.
When the bubbles slow to nothing, usually after five to ten minutes, the stone is saturated and ready. Some splash-and-go stones only need a surface wetting, so check what you have, but when in doubt, soak.
Keep a little water on the surface as you work. That grey slurry that builds up is doing part of the polishing, so don’t rinse it all away.
How to sharpen kitchen knives at home: find the angle and commit
Here’s the thing worth waiting for. A keen edge comes from meeting the stone at the same angle on every single stroke. Wander a few degrees and you round the apex instead of thinning it.
For most Western kitchen knives, aim for about 15 to 20 degrees per side. A rough guide: lay the blade flat, tilt it up so the spine sits about two stacked fingers off the stone, and hold there. Japanese knives often want a shallower angle, so check the maker’s guidance if you have it.
A lower cutting-edge angle takes less force to push through food, which is why a sharper, thinner edge feels so effortless [1]. But that only pays off if you keep the sharpening angle steady. Pick your angle and treat it as fixed for the whole job.
Sharpen the first side until a burr forms
Set the heel of the blade on the far end of the stone at your chosen angle. With light, even pressure, draw it toward you and across so the whole edge, heel to tip, passes over the stone. Think of shaving a thin layer off the surface.
Do this ten or so times, keeping the angle locked. Then run a fingertip very gently down the back of the edge, moving away from it, not along it. You’re feeling for a faint rough lip called a burr. That burr is proof the metal has been ground all the way to the apex.
No burr yet? Keep making passes. The burr is your signal, not a set number of strokes.
Sharpen the second side to match
Turn the knife over and set it on the stone at the same angle you just used. This mirror-image consistency is the whole game.
Make the same slow, even passes, heel to tip, until you feel the burr flip to the side you just left. Now both faces meet at a clean apex.
To shed the burr, alternate a few very light passes side to side, easing off the pressure with each one. You’re no longer removing much metal, just knocking off that ragged lip so it doesn’t snap away in use and leave a weak spot.
Refine on the fine stone and strop the edge
Move to the finer side of the stone and repeat the whole sequence at your angle, both sides, with a lighter touch. The fine grit smooths the coarse scratches into a cleaner, longer-lasting edge.
Then strop. Lay a leather strop flat, or use a strip of smooth cardboard, and draw the blade backward across it, spine leading, edge trailing. Never into the strop. Six or eight gentle pulls per side aligns the very tip of the steel and lifts off microscopic burr remnants.
Stropping does something close to what a honing rod does between sharpenings. It realigns and polishes the standing edge rather than grinding away fresh metal, which is the job the stone already did.
Test the edge on paper or a tomato
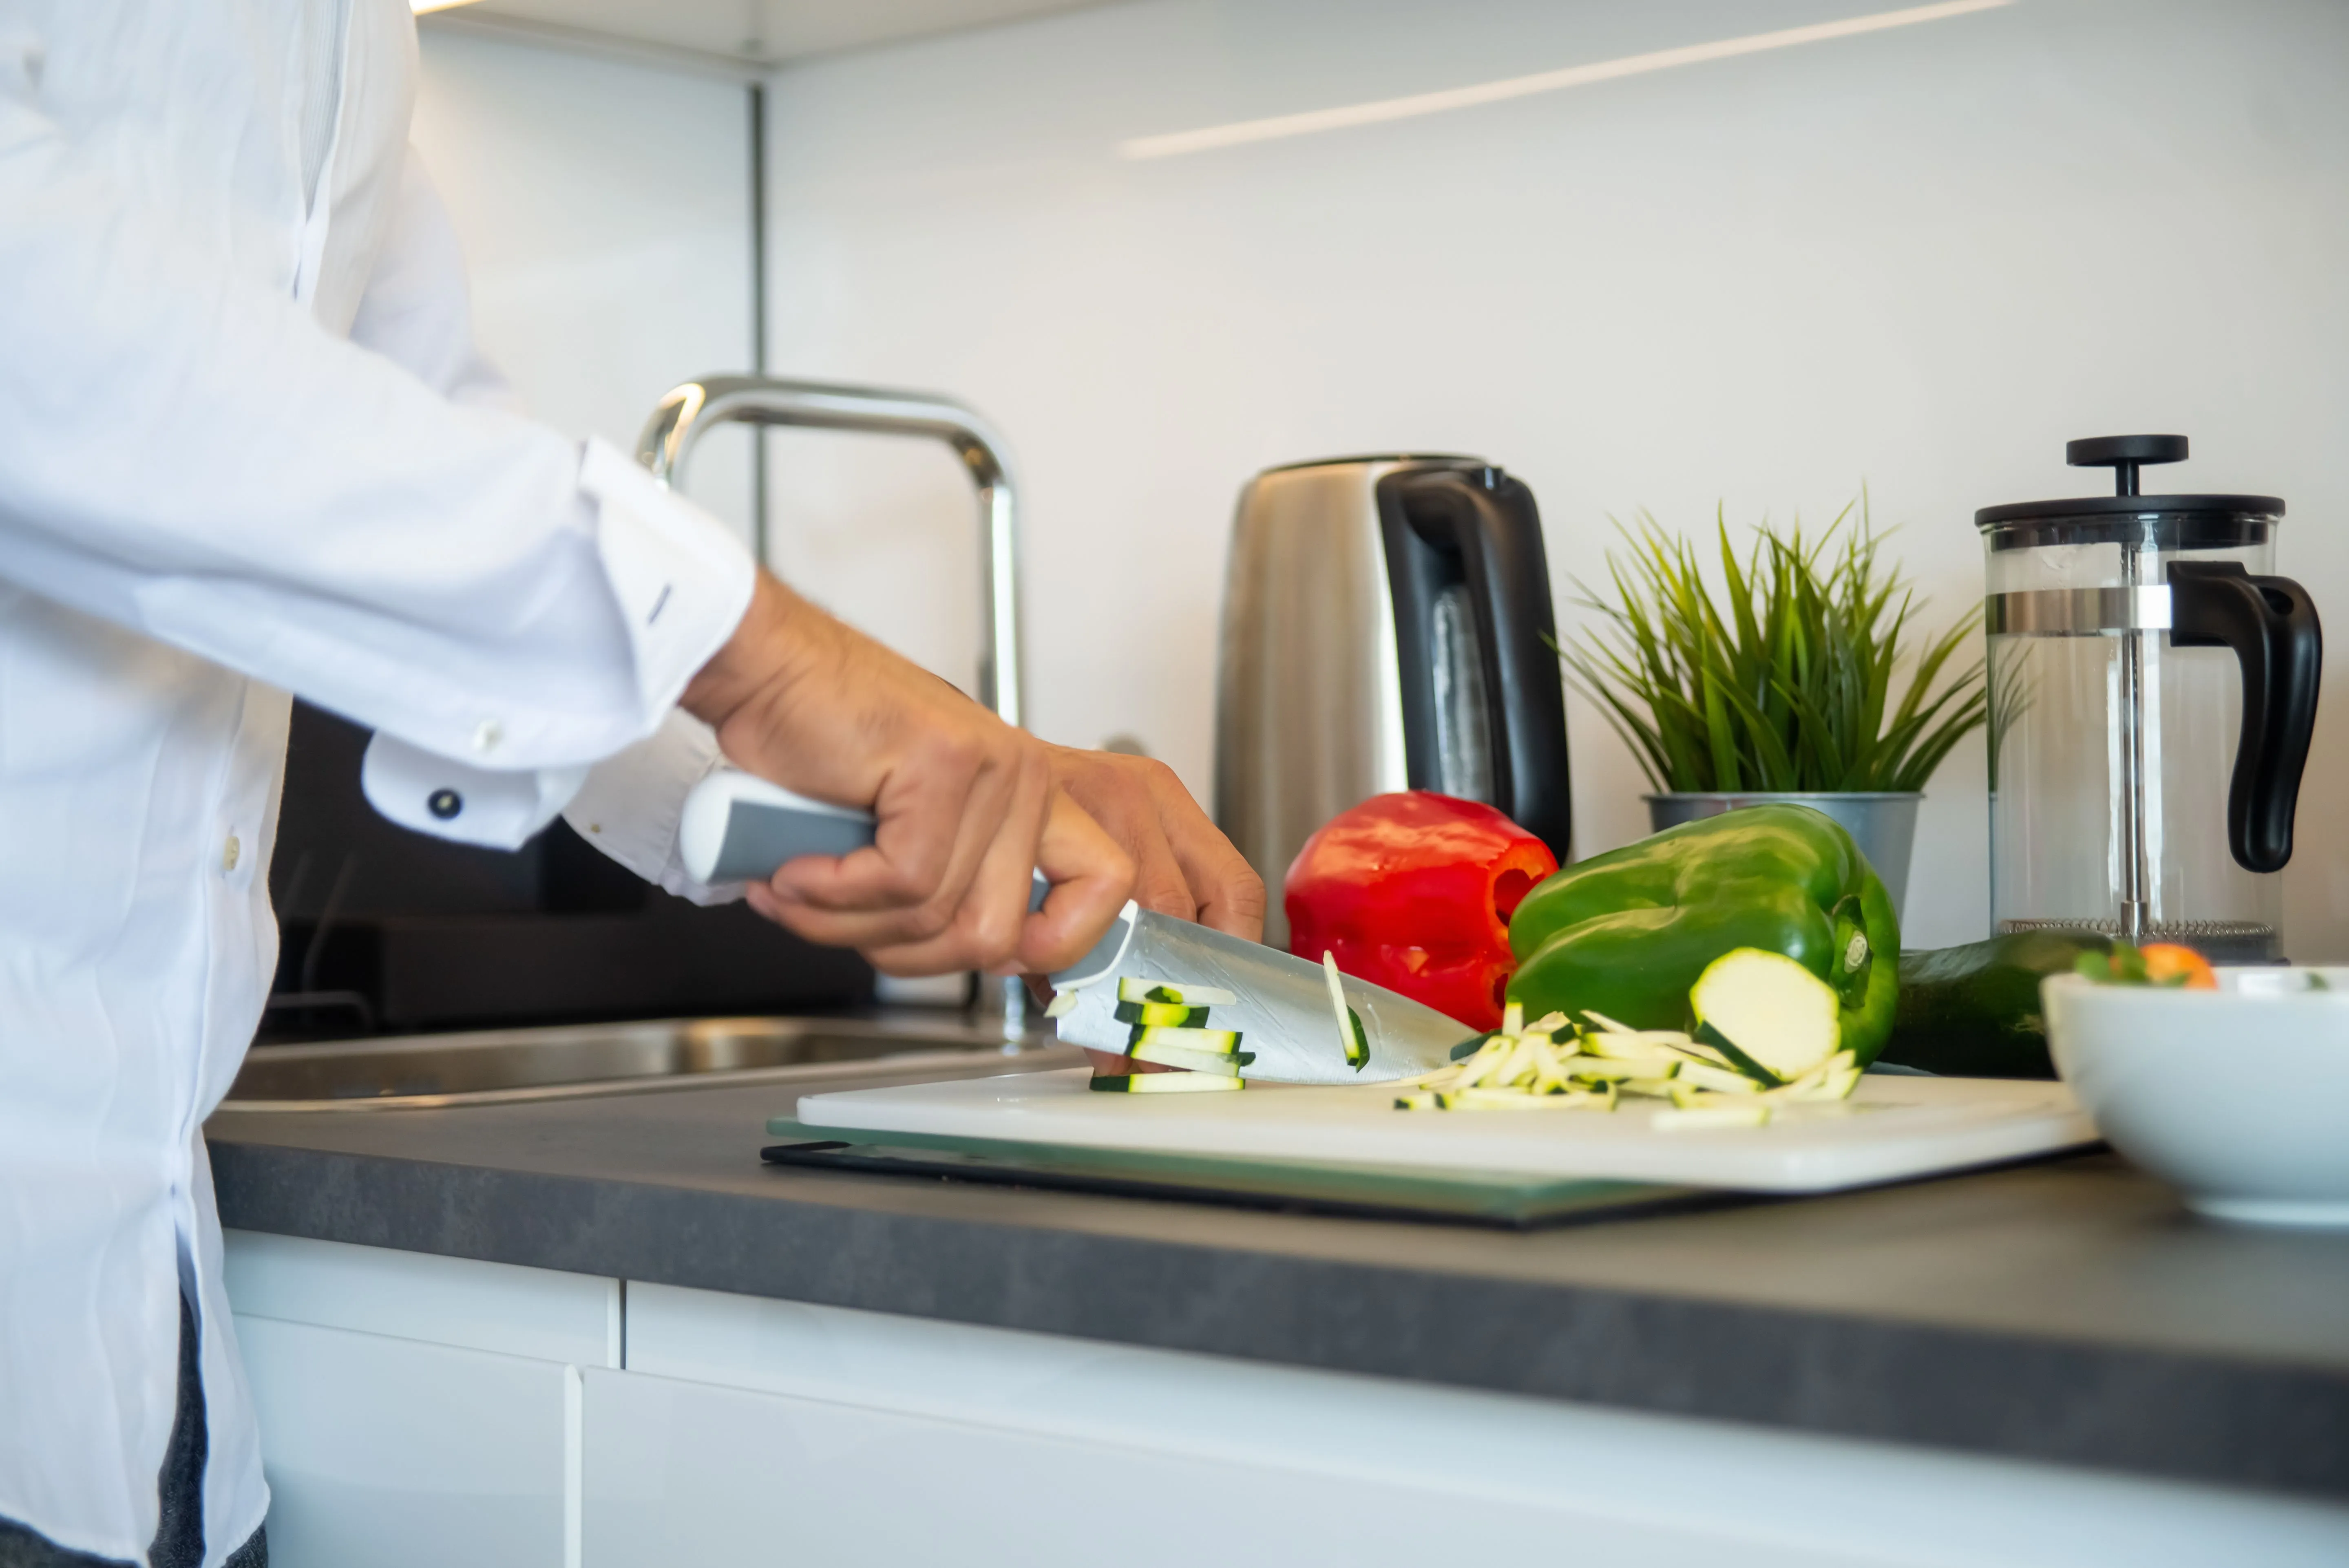
Hold a sheet of paper by one corner and slice down through it. A properly sharpened edge cuts a smooth line without tearing or catching.
For a real-world check, rest the blade on a tomato and draw it back with almost no downward push. It should sink in on its own. A sharper edge needs measurably less force to start and finish a cut, which is exactly the effortless bite you’re after [2].
If it snags, the apex probably still carries a burr or an uneven spot. A few more light passes on the fine stone, another strop, and test again.
Clean and store the knife and stone
Wipe the blade clean of slurry and dry it fully. Water left sitting invites rust, even on stainless steel.
Rinse the stone, and if it has developed a dished hollow in the middle, flatten it now so your next angle stays true. Let it dry completely before storing, since a stone put away damp can grow mildew or crack.
Keep the knife in a block, on a magnetic strip, or with an edge guard. A drawer full of loose utensils undoes your work in a week. With a quick strop before use and a full sharpening every month or two, that edge holds.
Learning how to sharpen kitchen knives at home changes how cooking feels. A keen blade does the work you used to muscle through, and it’s safer too, since a dull knife skids and a sharp one goes where you aim it.
The skill lives almost entirely in that one habit: pick an angle and hold it. Everything else, the grit progression, the burr, the strop, just supports that single idea. Your first knife may come out uneven. Your fifth won’t.
Start with a beater blade, not your favorite chef’s knife, and give your hands a few tries to learn the motion. The first pass or two will feel awkward, and that’s fine. You’re training a feel for the angle more than anything, and that only comes from repetition. Once your hands know it, the rest is quick.
References
- (2016). Effects of knife edge angle and speed on peak force and specific energy when cutting vegetables of diverse texture. International Journal of Food Studies. https://doi.org/10.7455/ijfs/5.1.2016.a3
- (2003). Cutting moments and grip forces in meat cutting operations and the effect of knife sharpness. Applied Ergonomics. https://doi.org/10.1016/S0003-6870(03)00041-3
The fire's still going.
Stoke another read →