How-to
How to Repot Houseplants Safely, Step by Step
The pot you grab in a hurry may be the exact thing that drowns your plant a week later.
What you need
- A clean pot one to two inches wider than the current one, with drainage holes
- Fresh potting mix suited to the plant type
- A watering can
- Clean scissors or snips
- Newspaper or a tray to catch spills
- Gloves if you prefer clean hands
- How to repot houseplants safely: check when the plant needs it
Look for roots escaping the drainage holes, a root mass shaped like the pot, water running straight through, or stalled growth. Without those signs, leave it alone for now.
- Pick the right pot size and potting mix
Size up by only one to two inches in diameter and check that the pot has drainage holes. Match the potting mix to the plant so water moves through instead of pooling.
- Water and loosen the plant before you lift
Water lightly an hour ahead so the root ball is damp, not soggy, then squeeze or roll the pot to break its grip before easing the plant free.
- Ease the plant out and inspect the roots
Support the base, slide the root ball out sideways, and check the roots. Trim only mushy or dead ones, and gently tease apart a tightly circling mass so it can grow outward.
- Settle it in without burying the crown
Add a base layer of mix, set the plant so its crown sits at the old soil line, backfill around the sides, and firm gently. Keep the crown at the surface, never below it.
- Give it calm aftercare to ease transplant shock
Water in thoroughly, then hold off on more until the top inch dries. Keep the plant out of harsh sun and skip fertilizer for a few weeks while it recovers from transplant shock.
The plant looks fine. Then you tip it out of its pot and a solid, pale coil of roots stares back, packed so tight there’s barely any soil left.
That coil is the whole reason people dread this job. But knowing how to repot houseplants safely is mostly about patience, not muscle. Rush the lift, grab a pot three sizes too big, pack the crown under fresh mix, and you get a sulking plant that drops leaves for a month. Go slow, in the right order, and most plants barely notice the move.
Here’s the sequence that keeps roots (and your nerves) intact.
How to repot houseplants safely: check when the plant needs it
Not every tired-looking plant wants a bigger home. Repotting houseplants for no reason just piles on stress, so read the signs first.
Tip the plant out gently and look at the root ball. A root bound plant shows tightly circling roots that have taken on the shape of the pot, sometimes with hardly any soil left between them. Other tells: roots creeping out through the drainage holes, water racing straight through without soaking in, or growth that has flat-out stalled in the middle of the growing season.
Spring and early summer are the kinder times to do this. The plant is actively growing then and bounces back faster. If none of the signs are there, slide it back and wait.
Pick the right pot size and potting mix
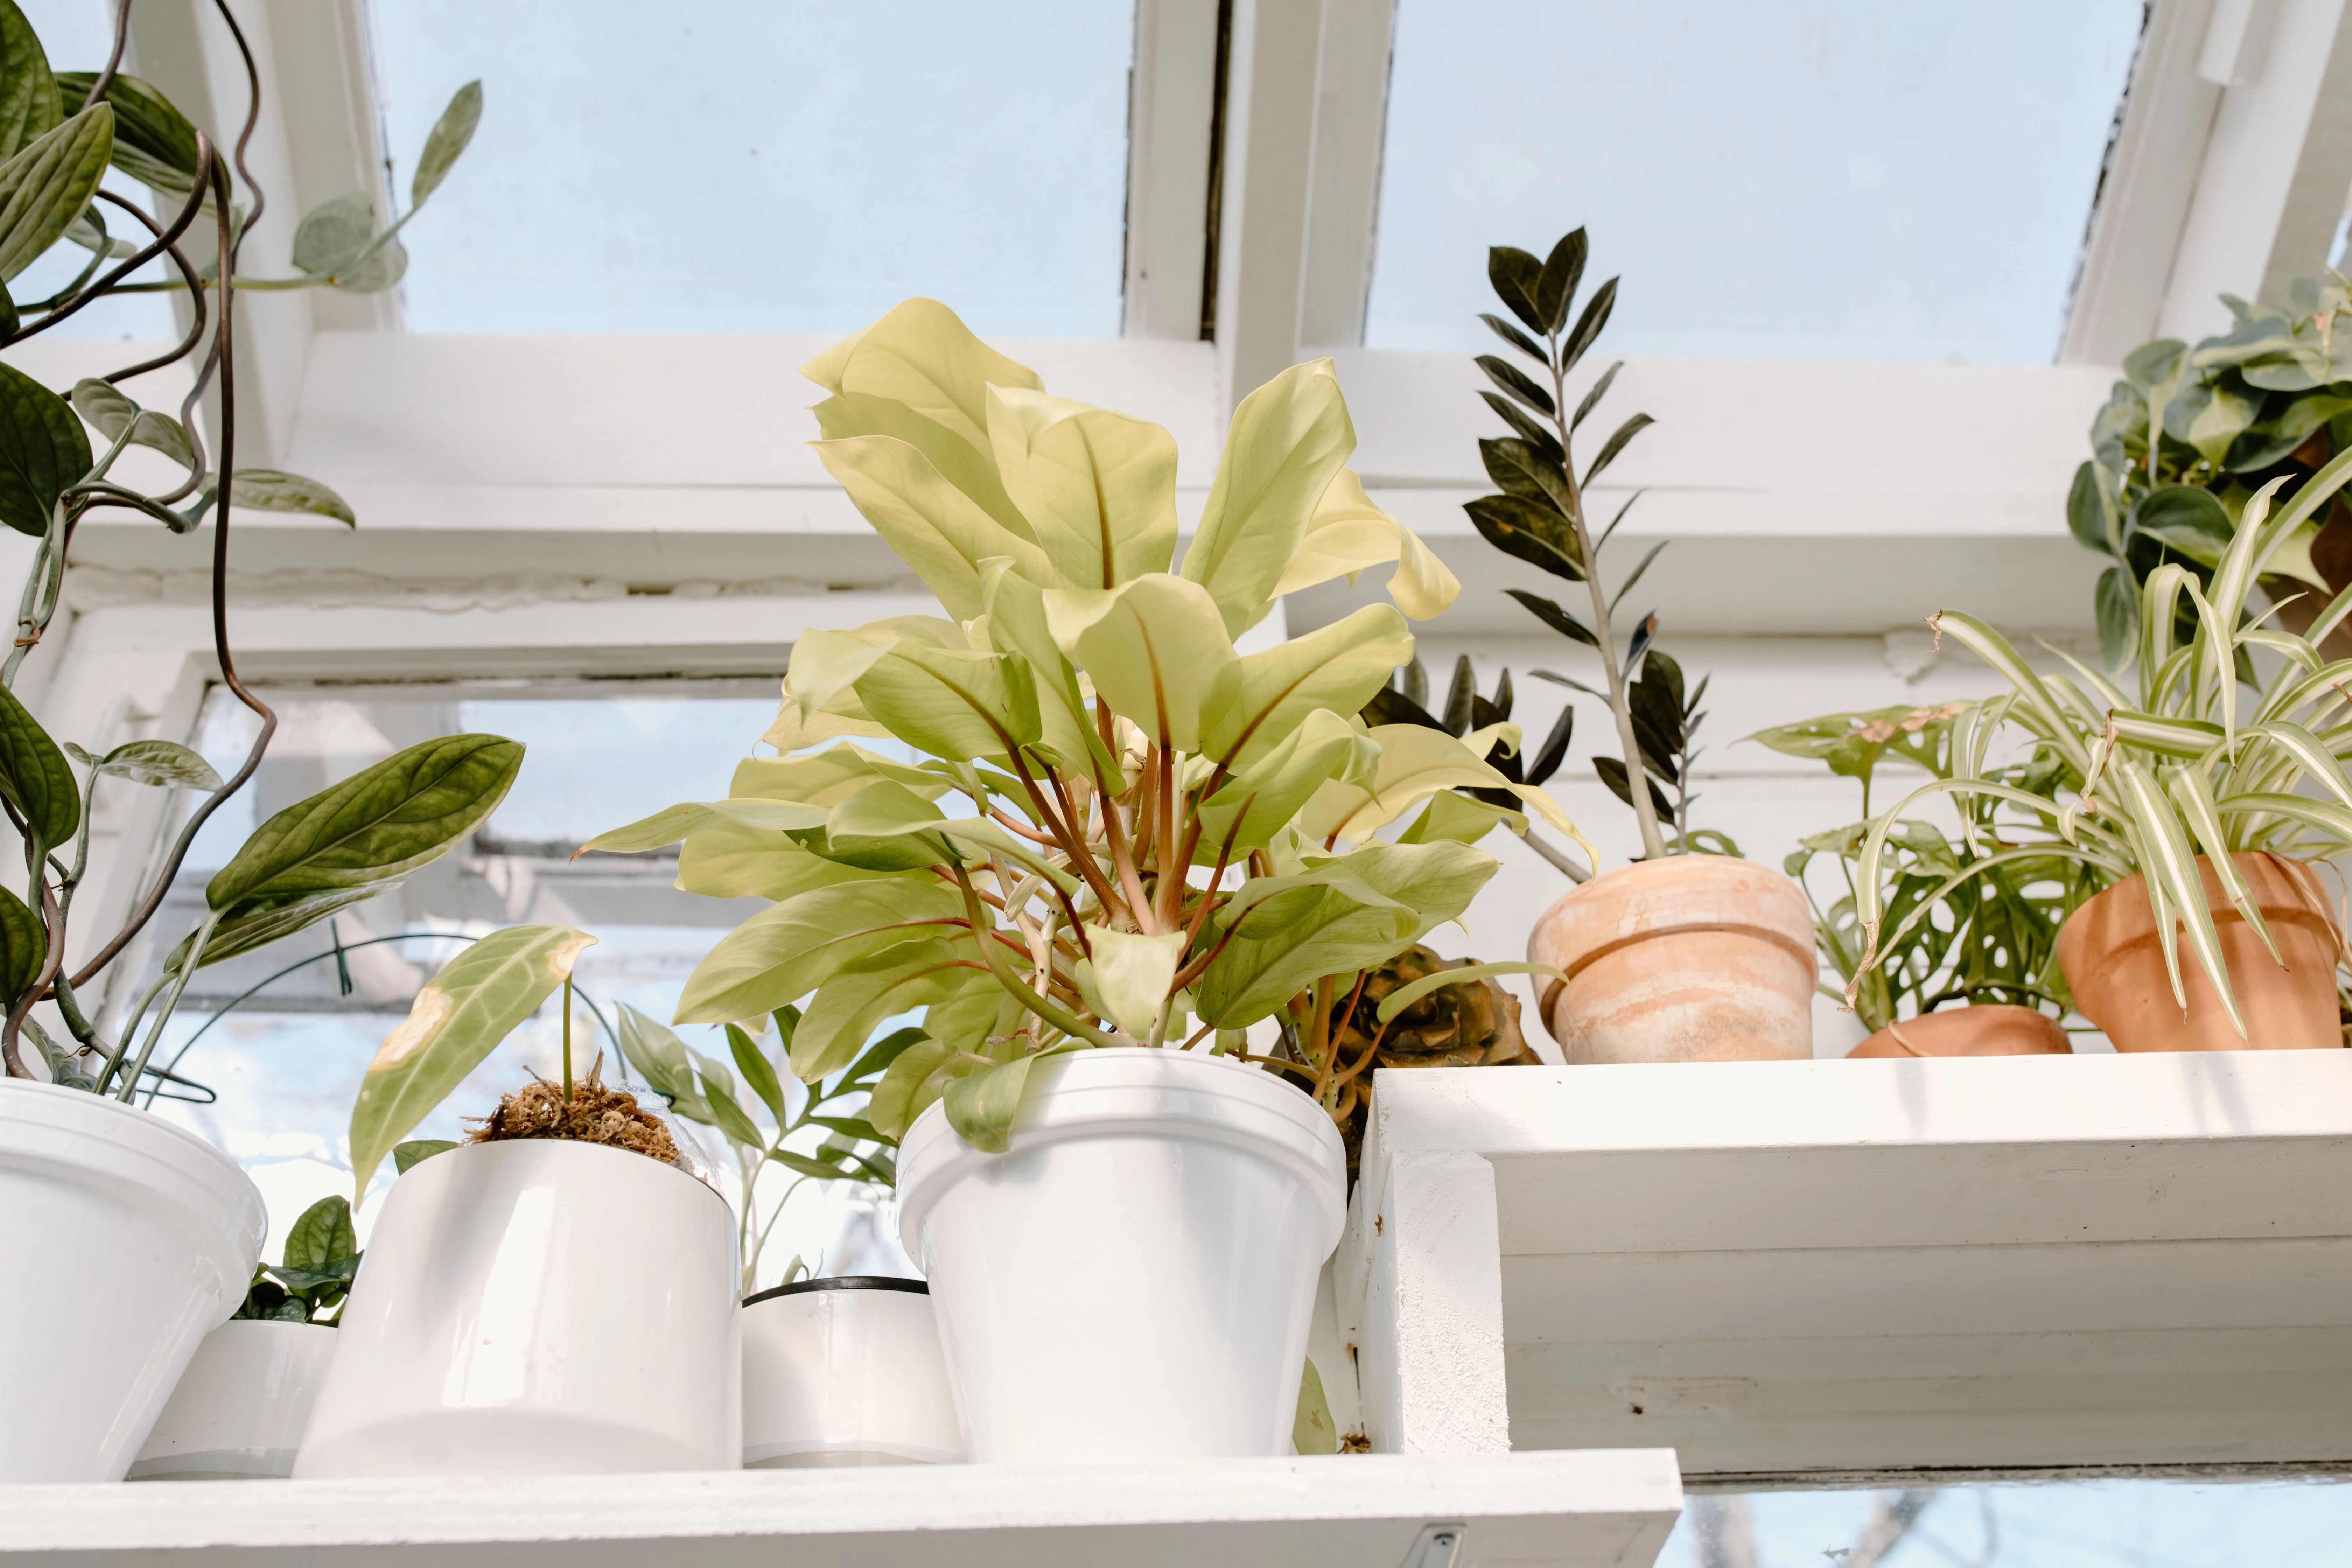
The instinct to give a cramped plant loads of room backfires. A pot far bigger than the root ball holds a huge reservoir of damp mix the small roots can’t use, and that lingering wetness is exactly what invites root rot.
So pot size up by one to two inches in diameter, no more. The roots want a comfortable collar of fresh space around them, not a swimming pool.
Drainage holes aren’t optional. Water has to have somewhere to go.
Match the potting mix to the plant: a free-draining, airy blend for succulents and aroids, a richer moisture-holding mix for ferns and calatheas. Fresh mix brings back the air pockets and nutrients that old, compacted soil has lost.
Water and loosen the plant before you lift
A bone-dry root ball crumbles and tears when you pull it. A soaked one turns to mud. You want the middle.
Give the plant a light drink about an hour before you start. Damp roots slide out in one piece and take the move with far less tearing.
When it’s time, work the pot loose instead of yanking the stem. For a plastic pot, squeeze and roll the sides to break the seal. For a rigid pot, run a clean knife around the inside edge. Then tip the whole thing sideways and let gravity help.
Ease the plant out and inspect the roots
Cradle the base of the stem between two fingers, turn the pot over, and let the root ball come to you. Never haul a plant up by its leaves.
Now do a proper root inspection. Healthy roots are firm and pale or tan. Dark, soft, or foul-smelling roots are dead or rotting, and those come off with clean snips.
If the roots are circling in a dense, pot-shaped coil, loosen the outer layer. Rake your fingers down the sides and across the bottom to free the tips, so they grow out into the new mix instead of continuing their loop. Be firm but unhurried. A little breakage is normal, and the plant recovers.
Settle it in without burying the crown
Put a shallow layer of fresh mix in the bottom of the new pot, enough that the top of the root ball will sit just below the rim.
Center the plant and check the height before you fill. The crown, where stem meets roots, should end up level with the surface, right where the old soil line was. Bury it and you invite stem rot. Perch it too high and the roots dry out.
Backfill around the sides with fresh mix, turning the pot as you go so you don’t leave big air gaps. Firm it with your fingertips, gently. The mix should hold the plant upright without being packed hard.
Leave a small lip of space below the rim so water doesn’t sheet straight over the edge.
Give it calm aftercare to ease transplant shock
Water in slowly right after potting, until it runs from the drainage holes, then tip away whatever collects in the saucer. This settles the mix around the roots and closes any gaps you missed.
Then back off. Freshly disturbed roots drink less, so let the top inch of mix dry before the next watering. Constant wetness now is the fastest route to rot.
Expect a little sulking. Some drooping or a dropped leaf or two is transplant shock, and it usually passes within a couple of weeks. Keep the plant in bright, indirect light rather than blazing sun, hold off on fertilizer until you see new growth, and resist the urge to fuss. Recovery is mostly a matter of leaving it be.
Repotting reads as a scary operation, but the danger is almost always in the hurry: the oversized pot, the buried crown, the flood of water afterward. Take the steps in order, size up modestly, keep the crown at the surface, and give the plant a quiet week to find its feet. Do that, and the coil of roots that spooked you becomes the easiest problem you’ll solve all season. When in doubt, do less. A plant left slightly cramped almost always fares better than one drowned in kindness.
The fire's still going.
Stoke another read →